
Interesting proyect from the Adafruit OpenKinect Bounty winner Hector Martin about laser proyection in real time, He created this software that let you create stunning animation and even render videos, check the videos of demos and the presentation that Hector gives about it on the 27th Chaos Communication Congress.
From Adafruit Blog
Tuesday, January 4, 2011


Thursday, May 13, 2010
Electronic symbol online search tool
Thursday, May 13, 2010

Don't know what is the symbol of an electronic part and you have spend alot of time searching on internet, well ElectricalWhat come to the rescue and online search tool that help you find the schematic symbol of any electronic part.
Take a look and let me know what you tink about this free and helpfull service.WHAT IS ELECTRICALWHAT?!
Frustrated by the difficulty of searching schematic symbols through long lists with little information led to the creation of Electrical What !?, a database of electronic components. Electrical What !? displays all electronic components in a easily scanable and cataloged format. However what truly sets Electrical What !? apart from your average reference book is the ability to search by appearance. Using these tools Electrical What !? hopes to make looking for electronic symbols a breeze.
From Makezine blog
Friday, July 24, 2009
BricoGeek.com - Let Arduino Play Contest
Friday, July 24, 2009

BricoGeek.com has started an Arduino Game contest wich consist of make a game using the Arduino, they show some videos of examples of game proyects using Arduino, giving you an idea of what to do.
For the first time at BricoGeek.com, we organize a contest which we hope you enjoy.The Deadline is August 24, start your proyects now.
All you need is making a game with and Arduino board. You can use any version of the boards available but it must be playable so user can interact with your project.
You can make for example a simple Simon game or even a world domination multiplayer game with graphic LCD with sounds, why not! Just let your imagination flow and do it. The jury will take care of presentation, originality, documentation and execution of your project. Don't forgot to grab a video demonstration, of course!! You can submit your project, one per person, before the deadline show on the right of this page, so be quick! once time limit is reached, our jury will inspect all the projects submitted and device the tree who wins.
More Info BricoGeek.com
Thursday, July 16, 2009
The Lunar Lander videogame lands in the real world
Thursday, July 16, 2009
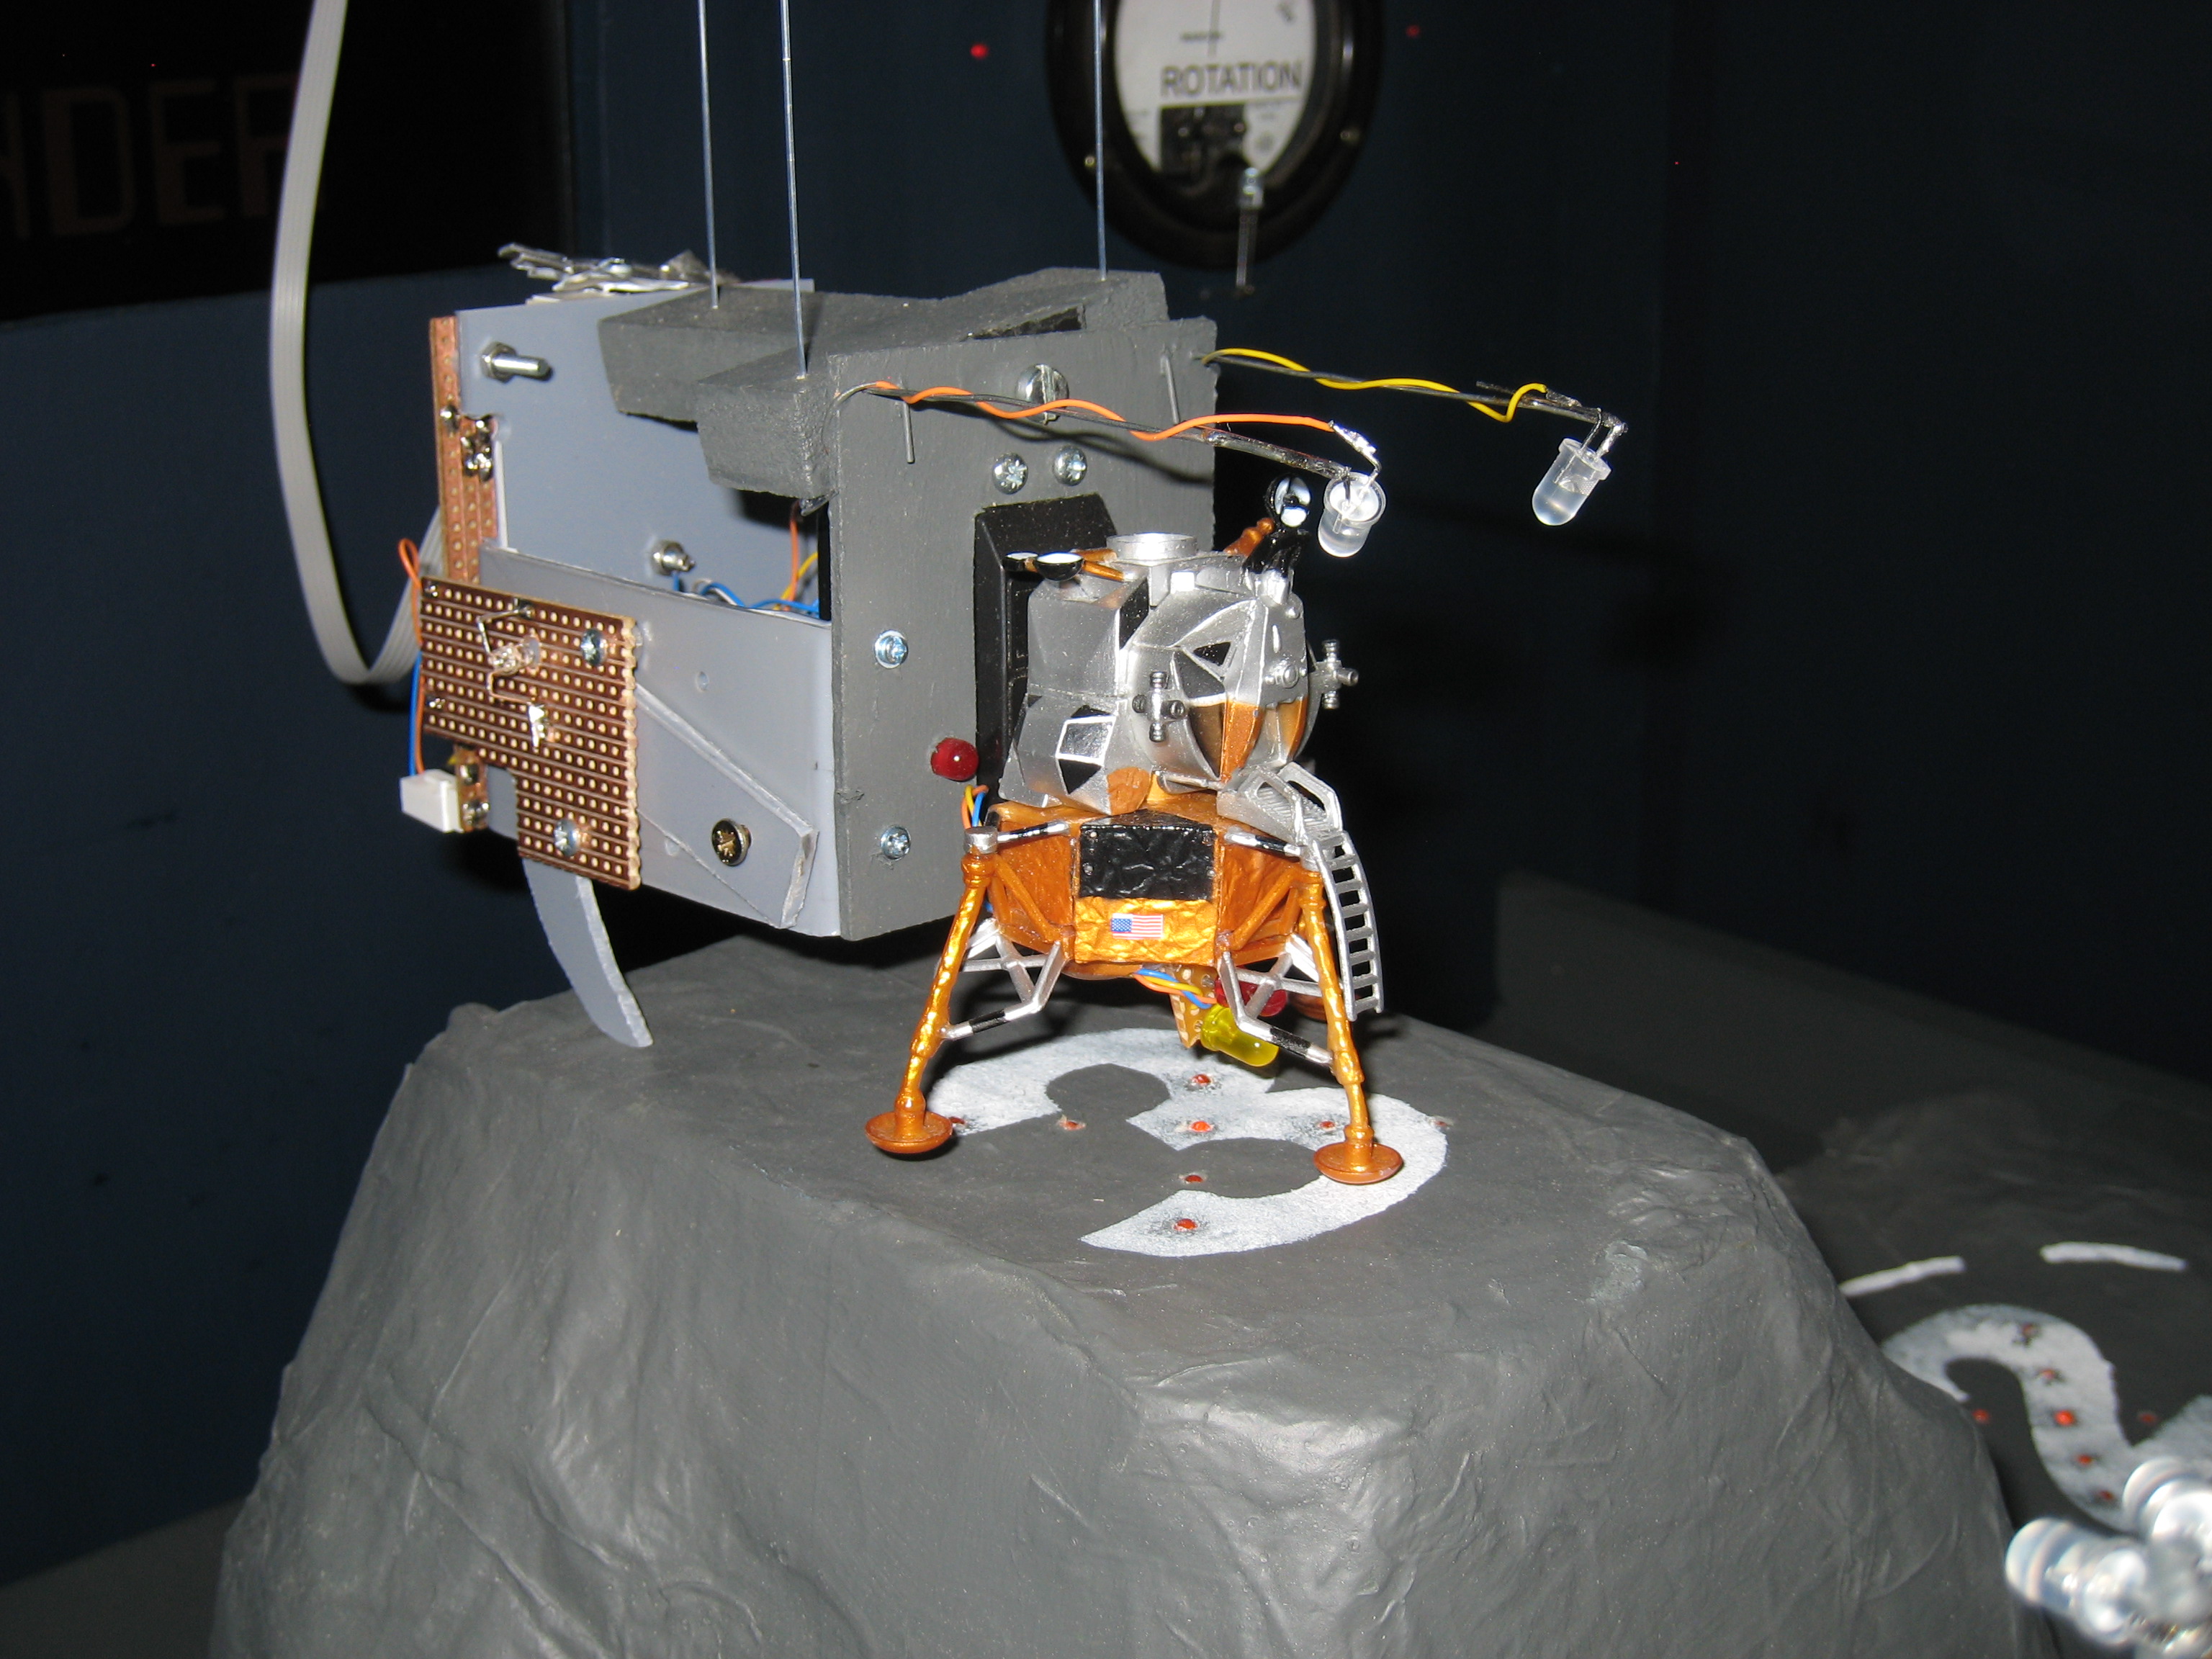
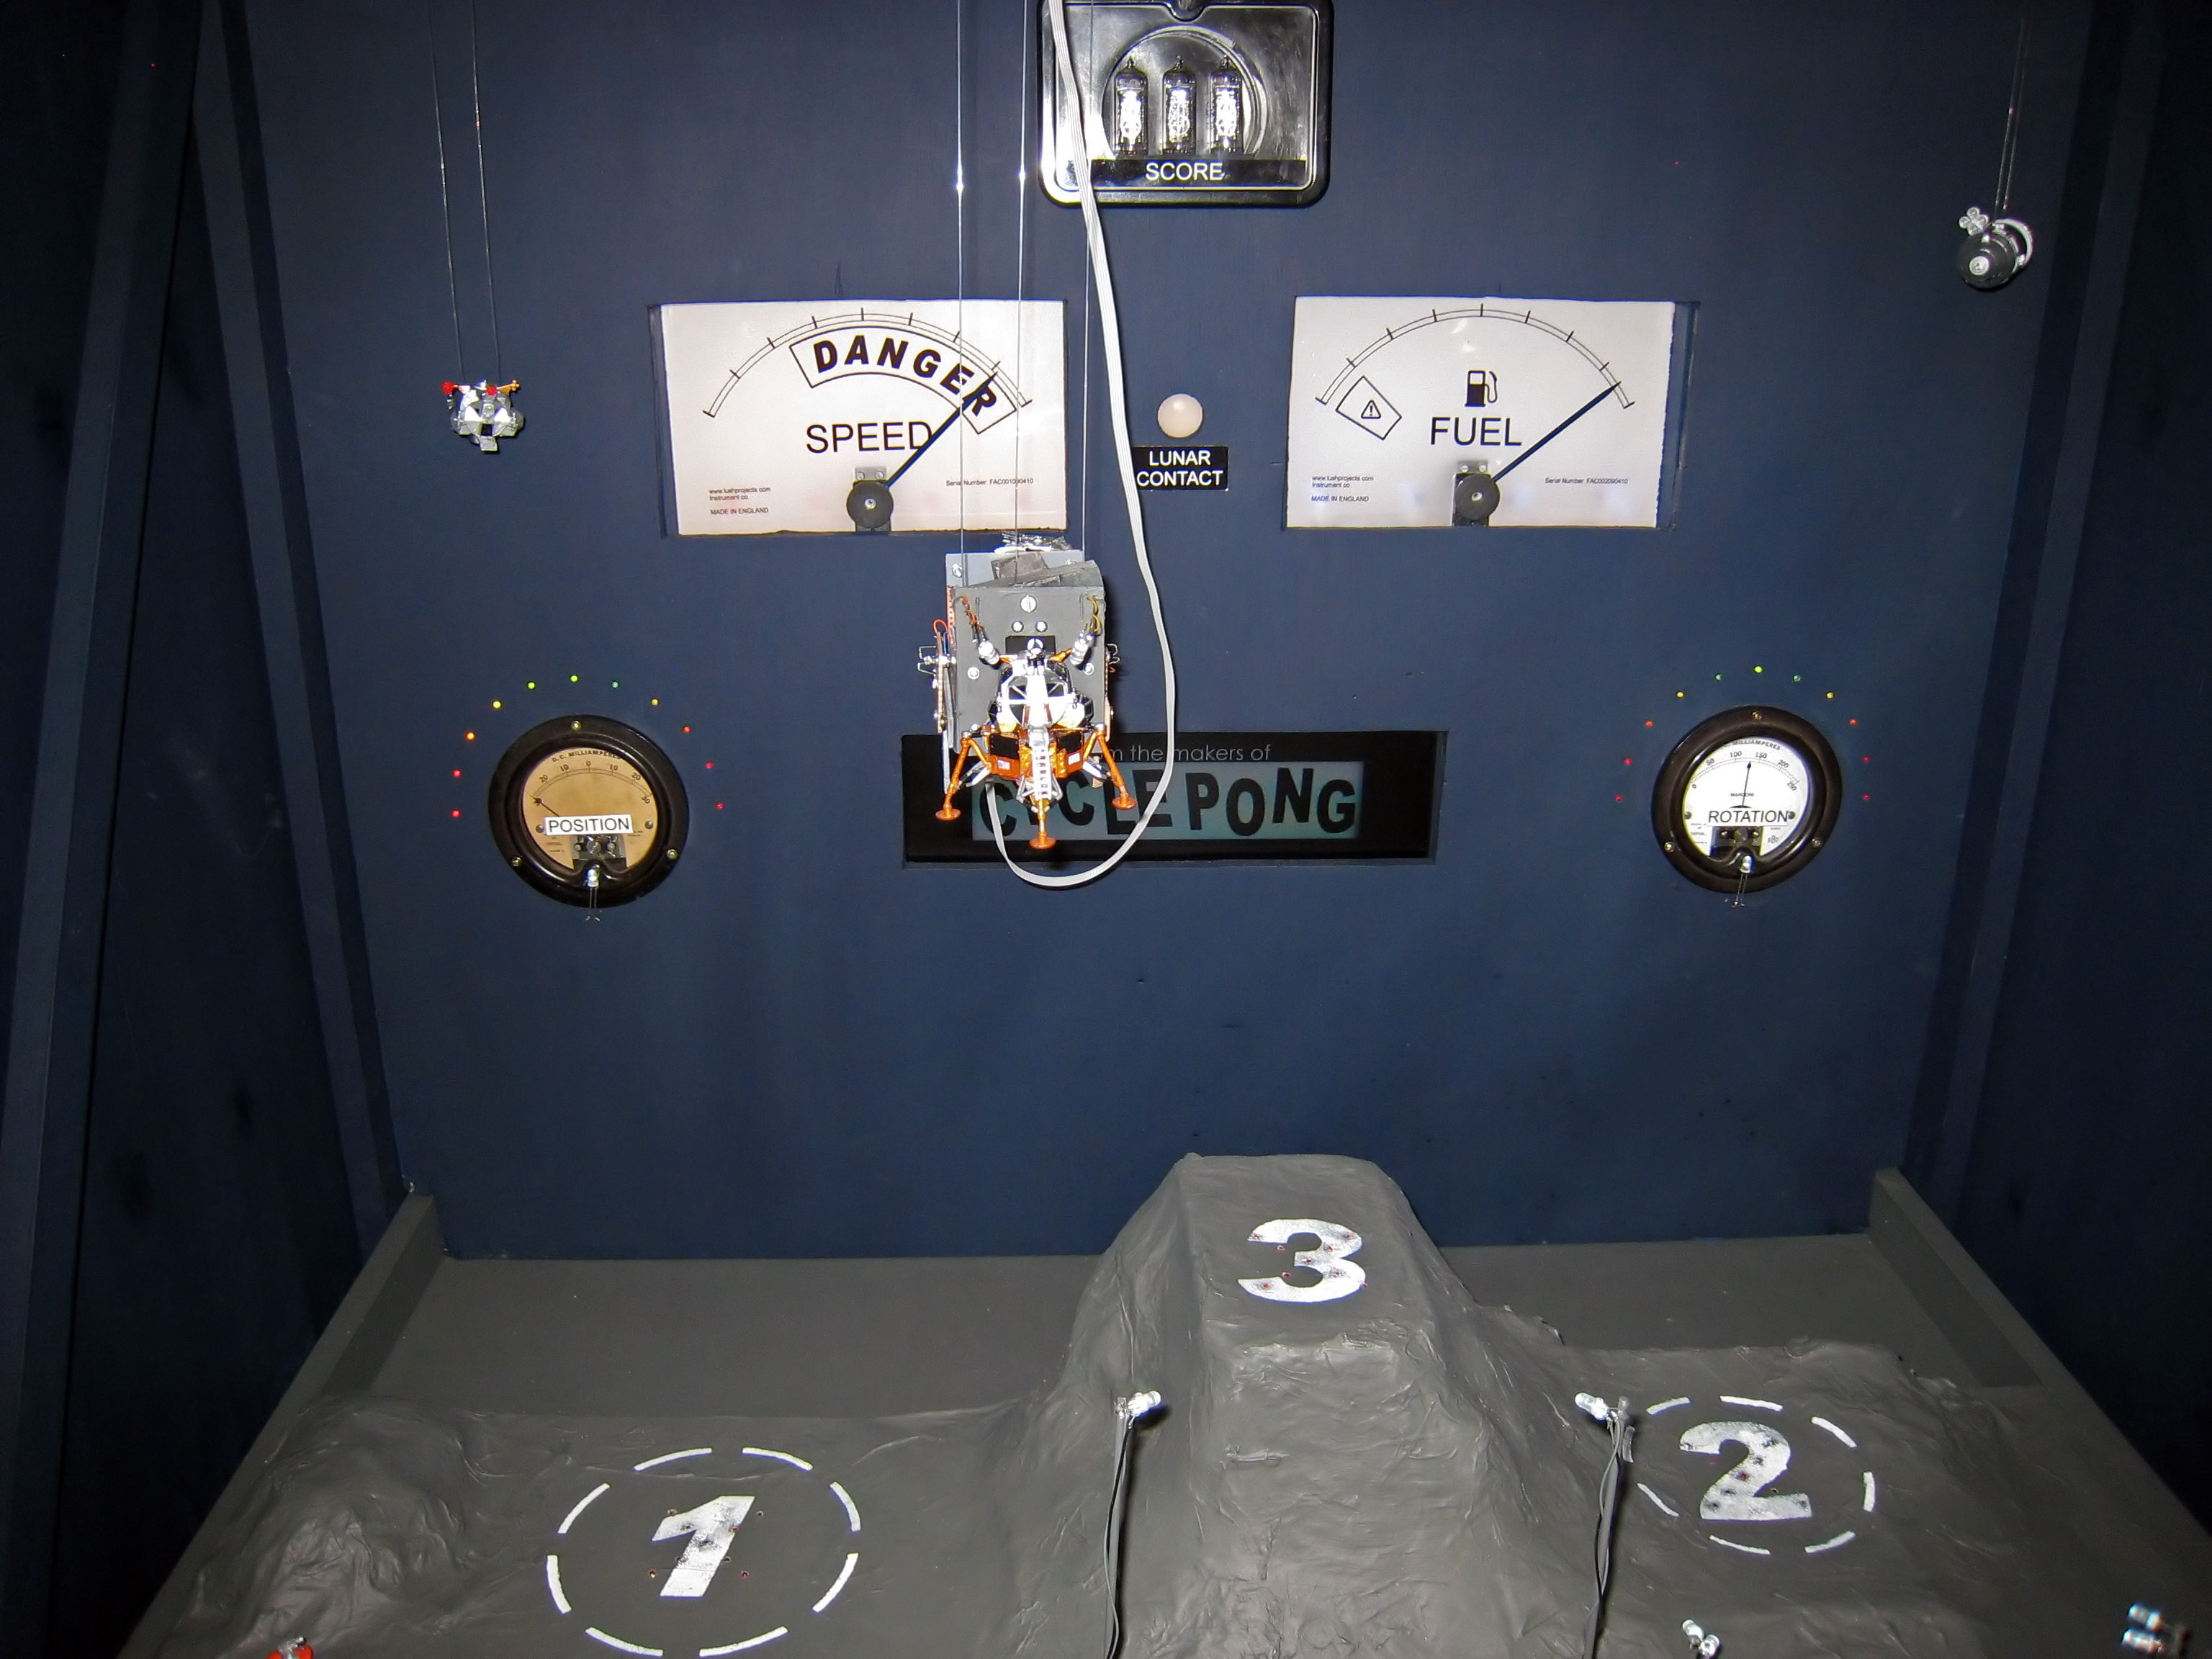
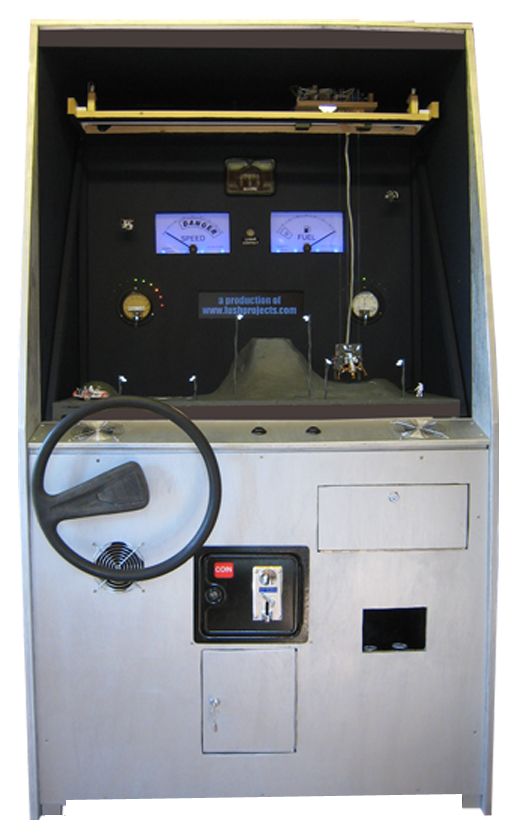
The people from Lushprojects in celebration of the 40th aniversary of the moon landing, create this incredible arcade like game from the 1979 Atari version bringin it to the real world, well done Lushprojects ; ).
From - Hackaday
Monday, May 4, 2009
Waitless Bus Tracking System
Monday, May 4, 2009

How to know if the bus passed by because you arrive late at the station, or you just came too early and the bus has not arrive yet. Well what you need is a Waitless Tracking System, the goal of this system is to eliminate the concern of whether the bus passed by or not, armed with an Arduino, a solar panel and a connection wireless Internet, the system is able to display on a printed map with a diagram of the bus trip through LEDs placed behind the map which will light exactly where the bus is at that time, and all this in a standalone package which gives the ability to install anywhere.
Here a video of how it works.
From - Hackaday
Thursday, April 23, 2009
The LinuxStamp
Thursday, April 23, 2009
 Has arrive a new open source development platform the LinuxStamp with an Atmel AT91RM9200 processor running at 180Mhz, 32MB RAM, 8MB SPI data, a 10/100 Ethernet port, 1 USB port to connect USB sticks and all type of compatible USB gadgets, 1 SD card slot, serial port using an FTDI chip, and a JTAG port and capable of PoE (Power Over Ethernet) from 48V to 5V, this means that the LinuxStamp can be powered through the ethernet port, as well can be powered by an external power supply regulated to 5V.
Project development and debugging of applications is done via a virtual serial port for further information visit the Wiki LinuxStamp.
If you want one his price is $120.00.
Thursday, April 2, 2009
Microcontroller + PC = RoBoard
Thursday, April 2, 2009

What dit You get when you cross a computer with a microcontroller on a PCB board of barely 3.77 x 2.20 inches ...
Me neither but the people of Trossen Robotics came up with this, the ROBOARD with a x86 32bit CPU running at 1000Mhz with 256MB of RAM with ability to run any operating system compatible with it like Windows, Linux and DOS uploaded using a Micro-SD card from 1-2Gb.
It also has USB ports, COM and I / O ports, even has a slot for a Mini PCI card, the kit comes with a Mini PCI VGA card.
Complete specifications:
So if you want it start saving money now because it has a price of $ 299.99 (Please be honest this cost $300.00).RoBoard RB-100 Specification
Windows Embedded CE, Windows XP Embedded, Windows Embedded Stardand
Linux distribution kernel 2.4.24, 2.4.26
From- Makezine Blog
Friday, March 6, 2009
Automatic DVD's (or cd's) Selector
Friday, March 6, 2009


Have you passed some time searching for a DVD from a tower of them, well here a project that will facilitate this work, a project can be easily implemented with the Arduino.
With the use of servomotors, stepping motors and a LCD Andrew Goessling create this device,
provided with a menu displayed on the LCD, you can select the DVD or CD that you are looking for in a easy way.
Watch video here.
From - Hackaday.
Thursday, February 26, 2009
SheevaPlug a Mini LINUX PC
Thursday, February 26, 2009

The SheevaPlug from Marvell ® Technology Group, is a mini computer known as Plug Computer. With an ARM processor Marvell SheevaTM 1.2 Ghz, 512 MB Flash memory and 512 MB of DDR2 memory, 2 USB 2.0 ports and 1 ethernet port.
The SheevaPlug gives us the ease of implementing a low cost server in a small space, a device that we will be very helpful and possibly able to communicate with the Arduino.
From - Hackaday
Monday, February 23, 2009
IPOD controlled by the Arduino
Monday, February 23, 2009


The Arduino now talks with MP3 IPOD device, through the efforts and work of RECOTANA (translated into English). whit an appropriate connector, a little soldering and the library.
You can play your favorite songs automatically by triggering an infinite source of sensors attached to the Arduino.
The possibilities are endless, limited only by your imagination.
From - MakezineBlog
Wednesday, February 4, 2009
Box of fortune made with Arduino
Wednesday, February 4, 2009

A simple and fun project that uses an LCD 16 × 2 with parallel interface, LEDs, buttons and the Arduino.
Pressing the button indicated predicts your fortune or your lucky number through pre-loaded messages that are displayed on the LCD,
The messages are chosen from a random selection.
From - Makezine Blog
Tuesday, February 3, 2009
Virtual Ping Pong Player
Tuesday, February 3, 2009

You tink play ping pong with a virtual player with the skill of a professional would be almost impossible but within 100 years, then think again (Well maybe needs a few hundred years more but this is a good start).
Day by day we are impressed with the technology developments in the AI here an example of this, using a webcam to track the ball and a laptop as his brain which also serves as the playing field (yes the game is place in a virtual ping-pong table) and two solenoids to operate as the fingers of the keyboard to move his racket, this virtual ping pong player will kick the ass to anyone.
From- Hackaday
Wednesday, January 28, 2009
Moon light displays realtime phases
Wednesday, January 28, 2009

Here's a good idea - take something fun and make it functional. Hmmm, let's say a remote-controlled moon light for instance ...
I decided that it would be more interesting if the model moon actually reflected the current phase of the moon based on the date. I did this by replacing the original PCB with an arduino and a DS1307 realtime clock module from Sparkfun. The DS1307 module maintains the proper time and date, while the arduino calculates the current phase of the moon based on the date. The RTC module contains a coin cell battery backup that enables the internal clock to maintain the proper time, even without power, for up to 17 years!
From - Makezine Blog
Friday, January 23, 2009
DIY LED Array Display - using ATmega168 microcontroller
Friday, January 23, 2009
NerdKits has put together a video that describes how a LED row/column matrix is wired. This comes in handy when you have limited pins and need to control lots of items. Another popular method is to use a serial to parallel latch.
"This project makes use of row-column addressing, which lets us control lots of LEDs without having one wire going to each one. We also use one more trick — the fact that
From - Hackedgadgets
Thursday, January 15, 2009
Electronics tips from a robot maker
Thursday, January 15, 2009

Keeper of the Robot Room David Cook put together an excellent collection of workbench tips, covering a variety of situations and materials familiar to circuit makers out there. Even if you're perfectly content with your current methods there's likely at least one little trick/technique the article can show you.
From - Makezine Blog
Friday, December 19, 2008
Arduino Robot - ArBot 01
Friday, December 19, 2008
I present to you the fastest and easier robotic project to build with the Arduino, this ROVER
consists only of a Sharp GP2Y0A21YK distance measuring sensor, a Pololu Dual Serial SMC01A motor controller and two DC motors with their respective GEAR BOX (in my case I buy pololu robotic kit that came with the ball Caster, tamiya gear box and chassis).
It needs a little changes to the program once get improve I show you the videos.
consists only of a Sharp GP2Y0A21YK distance measuring sensor, a Pololu Dual Serial SMC01A motor controller and two DC motors with their respective GEAR BOX (in my case I buy pololu robotic kit that came with the ball Caster, tamiya gear box and chassis).
As the code is simple, the Arduino through serial connection with SMC01A sends orders to stop, turn right, left and backwards.
Arduino Sketch
The programming is very basic when detects a obstacle (about 15cm) stops, then turn left to take a reading of the distance, then turn right and take another reading, after the two distances has ven taked he choose the best option in this case the greater distance, turn to that side and continue.
Video below.
Video 1
Video 2
Video 3
Video 4
Arduino Sketch
The programming is very basic when detects a obstacle (about 15cm) stops, then turn left to take a reading of the distance, then turn right and take another reading, after the two distances has ven taked he choose the best option in this case the greater distance, turn to that side and continue.
Video below.
Video 1
Video 2
Video 3
Video 4
It needs a little changes to the program once get improve I show you the videos.
Subscribe to:
Posts (Atom)

